


How to upload your Coldcard public key to Unchained

Coldcard has disclosed a vulnerability in how its devices generate random numbers for seeds, and outside researchers have corroborated the issue. Any commentary in the article below may predate this disclosure and should be read in that context.
At this time, clients using Coldcard devices should replace their key as soon as practicable. Moving too quickly or panicking can lead to mistakes. Scammers target people who are fearful. When communicating with our team, always verify your Unchained representative using Support PINs.
When Unchained first announced Coldcard support, we noted that using devices from multiple manufacturers “reduces your risk of being exposed to a single manufacturer’s vulnerabilities.” This incident only reinforces that principle.
Navigate to the Keys page

Give your key a name
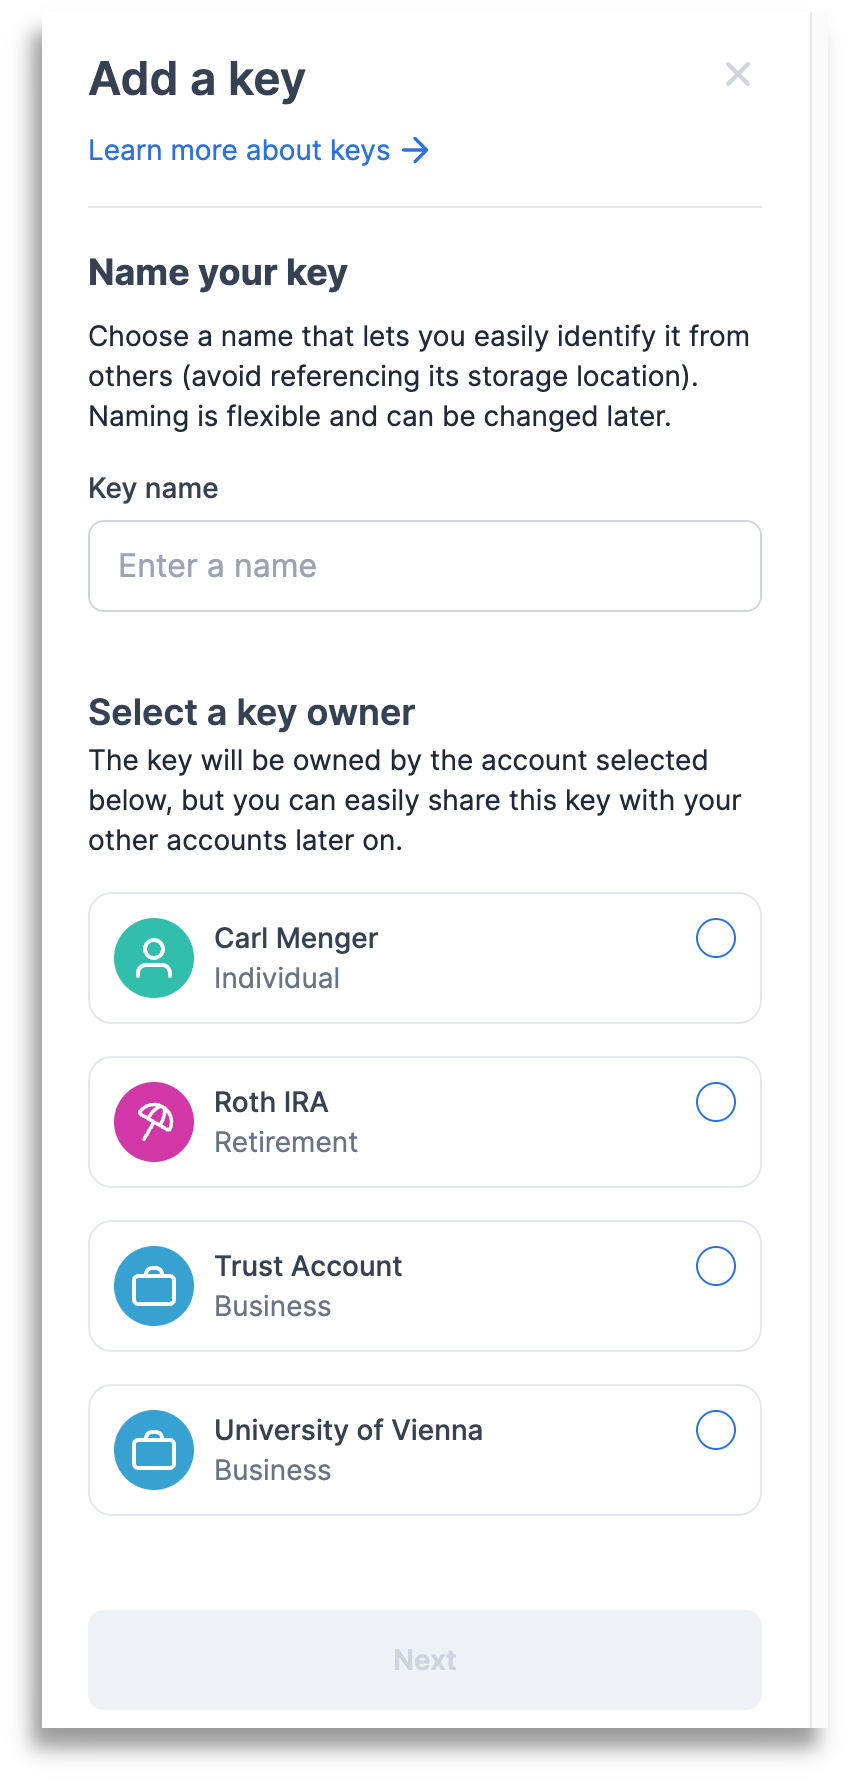
Names referencing where the keys or seed phrases are located are not recommended, for your security.
Export the public key

Your Coldcard is designed to keep your private key secret. However, it allows you to share public keys, which are less sensitive. Uploading extended public keys is required for building your vault.
Choose Coldcard as your device type, and select Next.
Insert a MicroSD card (with memory 32GB or less) into your Coldcard.
Unless you have an older model such as a Coldcard Mk3, you can use your Coldcard with a direct connection to your computer rather than a MicroSD. See our guide to ensure you have the correct settings enabled for your Coldcard.
Unlock your Coldcard with your PIN.
From the main menu of your Coldcard, select Advanced/Tools, then Export wallet, then Unchained.
Press OK to proceed forward until your Coldcard says the file has been written.
Pop out the MicroSD from your Coldcard and connect it to your computer.
On the Unchained screen, select Upload the XPUB, which will open your file explorer.
Open the file from your MicroSD card (it should be a .json file, with Unchained in the name).
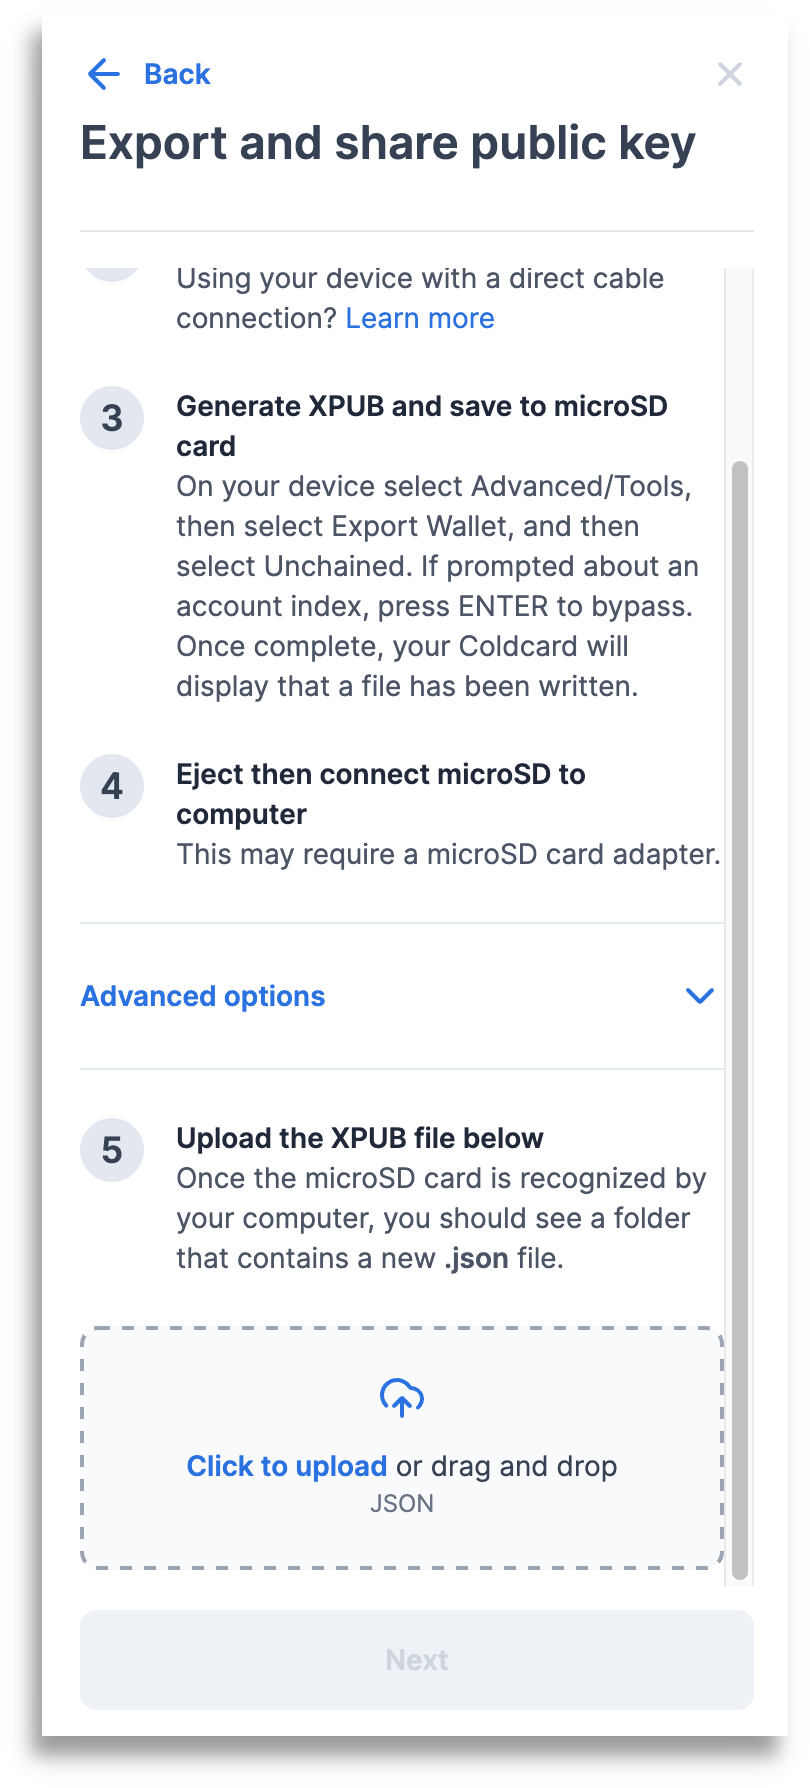
The Unchained platform will show you your exported public key—a bunch of letters and numbers. Select Next.
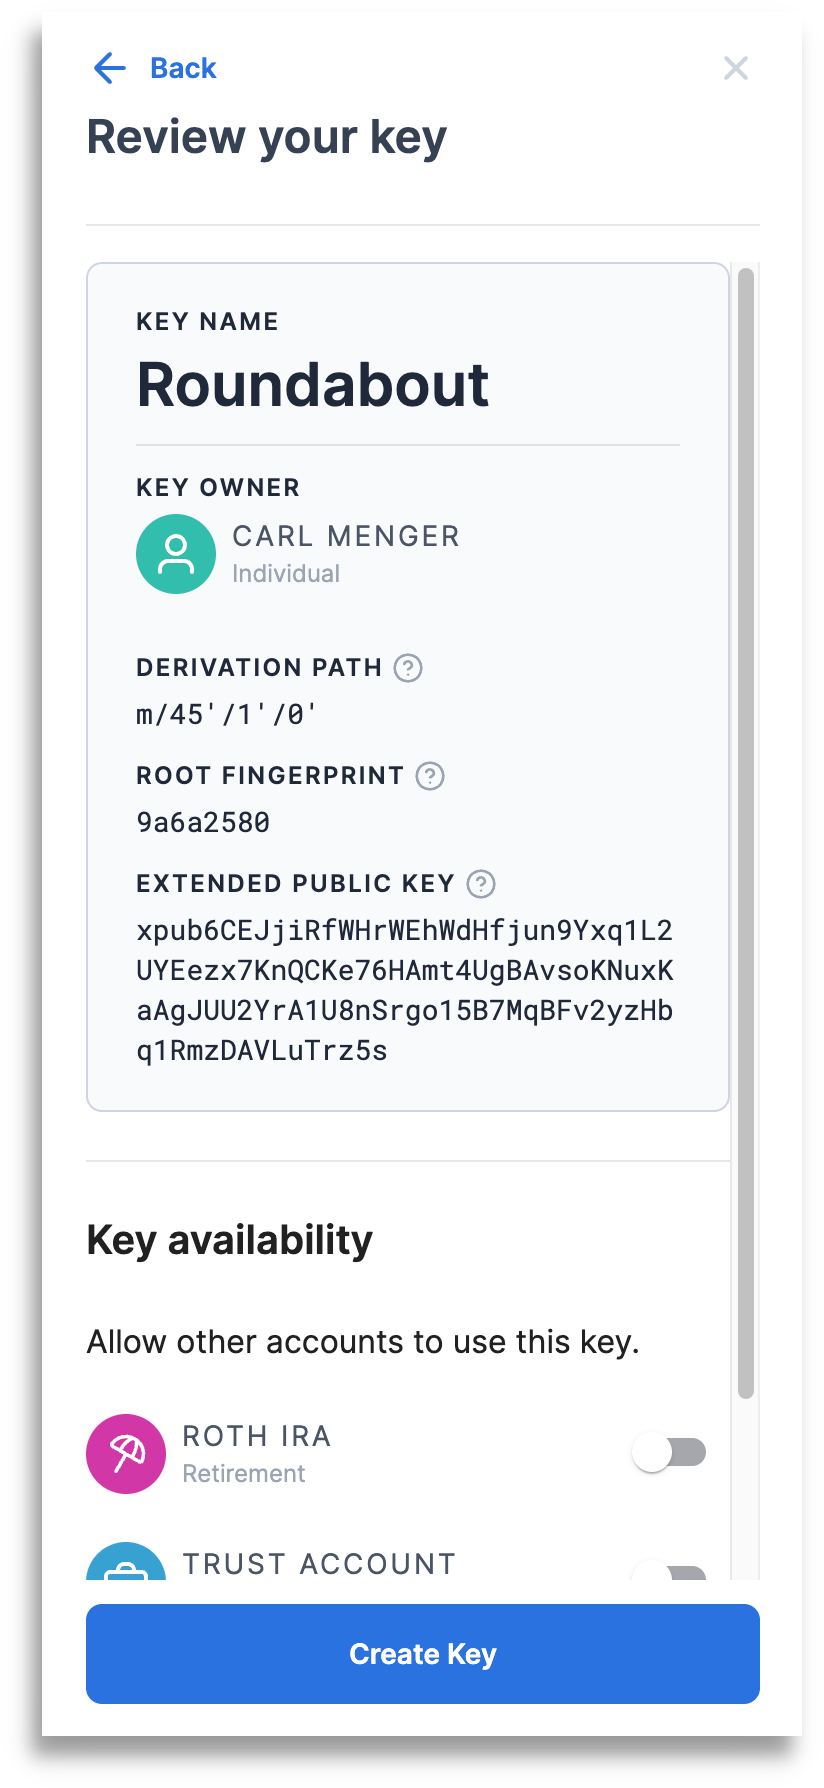
Review and create key
.svg)


